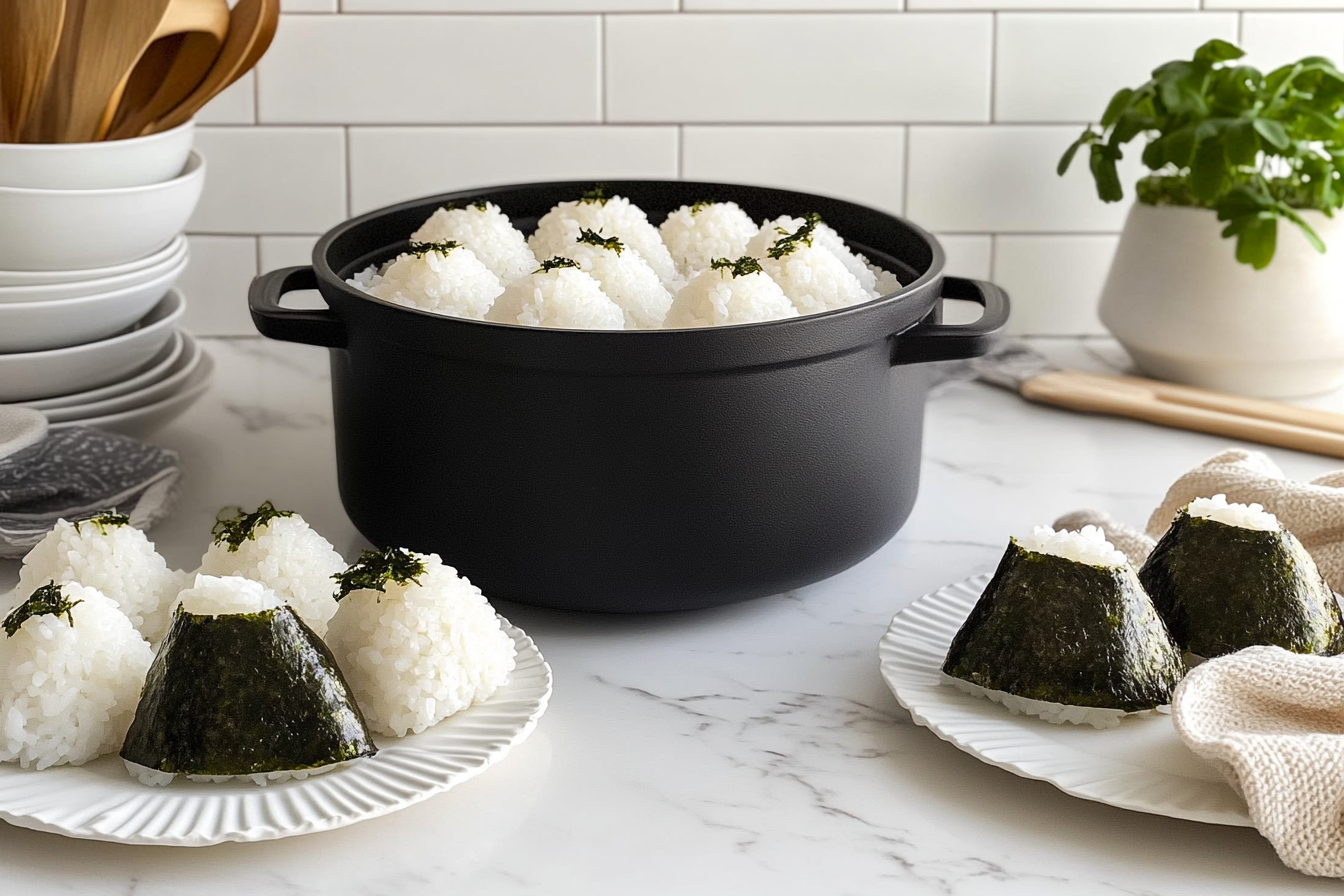
Is Your Sushi Rice🍙 Too Sticky? 3 Simple Steps for Perfection
Are You Making This Common Sushi Rice Mistake?
Have you ever made Sushi Rice that turned out more like glue than the light, fluffy grains you see in your favorite sushi rolls? 😅 Don’t worry—you’re not alone! Even seasoned home cooks can struggle with getting the perfect texture. But what if I told you it’s easier than you think to fix sticky Sushi Rice? In this guide, we’ll break down three simple steps to help you master the art of making restaurant-quality Sushi Rice at home. Let’s dive in and uncover the secrets together! 🚀
🌸Table of Contents
Overview: Why This Recipe Stands Out
Making Sushi Rice might seem intimidating, but once you understand the basics, it becomes a breeze. With just a few key ingredients and some easy techniques, you can whip up delicious Sushi Rice in under 30 minutes. This recipe is beginner-friendly, quick, and packed with flavor. Plus, mastering Sushi Rice opens up endless possibilities for creating your own sushi rolls, bowls, or even chirashi-style dishes. 🌈
- Time Required: About 25–30 minutes 🕒
- Difficulty Level: Easy (perfect for beginners) 👌
Let’s explore why this recipe stands out and how you can make it work for you. Whether you’re hosting a dinner party or simply craving something comforting, Sushi Rice is versatile and satisfying.
Understanding the Science Behind Perfect Sushi Rice
Before we dive into the steps, let’s take a moment to understand why Sushi Rice behaves the way it does. Short-grain rice contains two types of starches: amylose and amylopectin. Amylopectin is responsible for stickiness, while amylose helps maintain structure. The goal is to balance these two elements so your rice isn’t too sticky or too dry. For an in-depth look at rice science, visit this comprehensive guide by Serious Eats .
Proper rinsing, cooking, and seasoning are crucial to achieving the right texture. Skipping any of these steps can lead to overly gummy or clumpy rice. By following our tips, you’ll be able to control the moisture content and create perfectly balanced Sushi Rice every time.
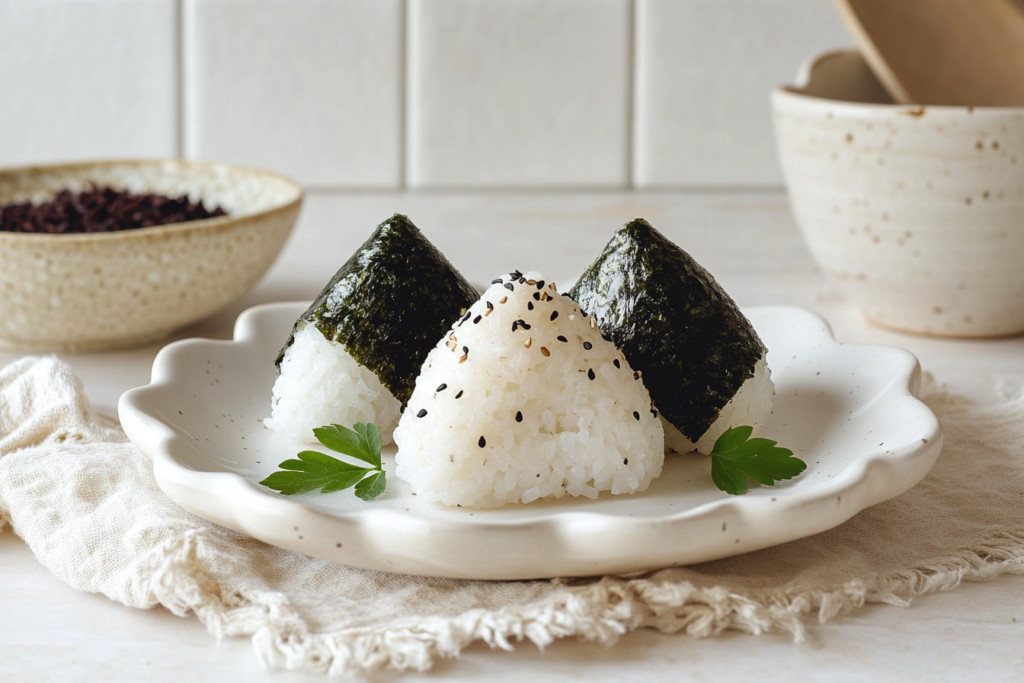
Essential Ingredients: What You Need
To make perfect Sushi Rice, you’ll need these essential ingredients:
- Short-grain Japanese rice – This type of rice has the right starch content for sticking together without becoming gummy. If unavailable, medium-grain rice works as a substitute. 🍚
- Water – Use the correct water-to-rice ratio for cooking. For best results, measure carefully. 💧
- Rice vinegar – Adds tanginess and sweetness to balance flavors. Substitute with apple cider vinegar or white wine vinegar in a pinch. 🍎
- Sugar – A small amount enhances the natural sweetness of the rice. 🍬
- Salt – Enhances all the other flavors subtly. 🧂
Substitutions and Variations:
- Can’t find short-grain rice? Try Arborio rice or Calrose rice for similar results. 🌾
- Want a healthier twist? Opt for brown Japanese rice, though it may require longer cooking times. 🌱
- Experiment with seasonings by adding sesame oil, mirin, or grated ginger to the vinegar mixture. 🥤
Each ingredient plays a critical role in the final taste and texture of your Sushi Rice. Without proper proportions, the result won’t meet expectations. For example, too much sugar can make the rice overly sweet, while insufficient vinegar will leave it bland. Balancing these components ensures a harmonious blend of flavors.
Step-by-Step Instructions: How to Cook Perfect Sushi Rice
Follow these detailed steps to ensure your Sushi Rice turns out perfectly every time:
Step 1: Rinse the Rice Thoroughly
Rinsing removes excess starch from the surface of the rice grains, which prevents them from becoming overly sticky during cooking. Here’s how to do it:
- Place the rice in a fine-mesh sieve and rinse under cold running water until the water runs clear. ✨
- Gently swirl the rice with your hands while rinsing to loosen any remaining debris. 🤲
- Drain well before moving on to the next step.
This process may take several minutes, but it’s worth the effort. Properly rinsed rice ensures each grain remains distinct after cooking.
Step 2: Cook the Rice Properly
Cooking Sushi Rice requires precision. Follow these instructions carefully:
- Combine the rinsed rice and water in a pot using a 1:1.1 ratio (e.g., 1 cup of rice to 1.1 cups of water). 🔥
- Bring the mixture to a boil over medium heat, then reduce the heat to low. Cover the pot tightly and simmer for 15–18 minutes. Avoid lifting the lid during this process. ⏳
- After cooking, let the rice rest covered for 10 minutes to absorb moisture evenly. This resting period allows the grains to plump up and achieve their ideal texture. ⏰
Tip: If you have a rice cooker, use its “sushi” setting for consistent results.
Step 3: Season the Rice Carefully
Seasoning transforms plain cooked rice into authentic Sushi Rice. Here’s how to do it:
- While the rice cools slightly, prepare the sushi seasoning by mixing rice vinegar, sugar, and salt in a small bowl. Heat gently until dissolved. 🍯
- Transfer the cooked rice to a large wooden bowl or glass dish. Drizzle the seasoning over the rice and fold gently using a cutting motion to prevent mashing the grains. 📏
- Allow the rice to cool completely, fanning it lightly to speed up the process. This cooling step helps distribute the seasoning evenly and gives the rice its characteristic sheen. 🌬️
Assembly: Combining Ingredients and Presentation Tips
Once your Sushi Rice is ready, it’s time to put it into action! Here’s how:
- Use damp hands to handle the rice and prevent sticking. 🤝
- Spread the rice evenly on nori sheets for classic sushi rolls or layer it in bowls for poke-inspired creations. 🍣
- Garnish with fresh vegetables, avocado, fish, or pickled ginger for added flair. 🥗
Presentation Tips:
- Keep portions neat and compact for an appealing look. ✨
- Add colorful toppings like tobiko, sesame seeds, or thinly sliced scallions for extra visual interest. 🌟
For sushi rolls, roll the rice tightly with bamboo mats to ensure the filling stays secure. For bowls, arrange the toppings symmetrically for an Instagram-worthy presentation.
Storage and Make-Ahead Tips
Proper storage ensures your Sushi Rice stays fresh and flavorful:
- Store leftover rice in an airtight container in the refrigerator for up to 2 days. 🥢
- To reheat, sprinkle a little water over the rice and microwave in short bursts, stirring between intervals. 🔋
- For make-ahead convenience, cook the rice ahead of time and refrigerate it. Reheat before seasoning to retain optimal texture. ❄️
Reheating properly prevents the rice from drying out or losing its texture. Always add a splash of water when reheating to restore moisture.
Recipe Variations: Get Creative with Your Sushi Rice
Here are a few ideas to spice things up:
- Spicy Sushi Rice : Mix in sriracha or chili paste for a kick. 🔥
- Herbed Sushi Rice : Stir in chopped herbs like cilantro or parsley for freshness. 🌿
- Fruity Twist : Add diced mango or pineapple for tropical vibes. 🍍
- Vegetarian Option : Pair with roasted veggies, tofu, or tempeh for plant-based meals. 🥑
Experiment with different flavors and textures to suit your preferences. For instance, adding wasabi powder to the seasoning mix creates a subtle heat that complements seafood beautifully.
Health Benefits of Sushi Rice
Sushi Rice is more than just a tasty base—it also offers health benefits when paired with nutritious ingredients. Here’s why it’s good for you:
- Carbohydrates for Energy : Rice provides complex carbs that fuel your body throughout the day. 🏃♀️
- Rich in Nutrients : When combined with vegetables, fish, and seaweed, Sushi Rice becomes a nutrient-dense meal. 🥗
- Low in Fat : Unlike fried foods, Sushi Rice is naturally low in fat, making it a healthier option. 🌱
Opt for brown rice if you want to boost fiber intake. Brown rice takes longer to cook but retains more nutrients compared to white rice.
Common Mistakes to Avoid
Even experienced cooks sometimes encounter issues when making Sushi Rice. Here are some common mistakes and how to avoid them:
- Over-Rinsing the Rice : Rinsing too much strips away essential nutrients and starches. Rinse only until the water runs mostly clear.
- Incorrect Water Ratio : Using too much or too little water affects the texture. Stick to the recommended 1:1.1 ratio.
- Skipping the Resting Period : Allowing the rice to rest after cooking ensures even moisture distribution.
- Adding Too Much Seasoning : Over-seasoning can overpower the delicate flavor of the rice. Start with small amounts and adjust as needed.
By avoiding these pitfalls, you’ll consistently produce high-quality Sushi Rice.
Conclusion: Time to Roll Up Your Sleeves
Now that you know the secret to fixing sticky Sushi Rice, there’s no excuse not to give it a try! Whether you’re hosting a dinner party or simply craving something comforting, this versatile base will elevate any meal. So grab your ingredients, follow these simple steps, and enjoy the satisfaction of homemade perfection. Happy cooking! 🎉 For further reading, check out our Japanese Tea: Cherry Blossom Tea.
FAQs
Q: Why is my Sushi Rice too sticky?
A: Over-rinsing or improper rinsing, incorrect water ratios, or insufficient resting time could cause stickiness. Follow the steps carefully for better results. ❌
Q: Can I use long-grain rice instead of short-grain?
A: Long-grain rice lacks the necessary starch content for Sushi Rice. Stick with short- or medium-grain varieties for best results. 🙅♂️
Q: How do I store leftover Sushi Rice?
A: Keep it in an airtight container in the fridge for up to 2 days. Reheat gently with a splash of water for freshness. 🥤
Q: Is Sushi Rice healthy?
A: Yes! It’s rich in carbohydrates for energy and pairs well with nutrient-dense ingredients like fish, veggies, and seaweed. Opt for brown rice for added fiber. 💪
With this comprehensive guide, you’re all set to conquer the world of Sushi Rice. Go ahead—experiment, have fun, and enjoy the delicious outcomes! 🍽️

